Authorizing the Connector
Authorizing the Connector Endpoints from Velosimo
Navigate to connect.velosimo.io and login with appropriate user credentials:
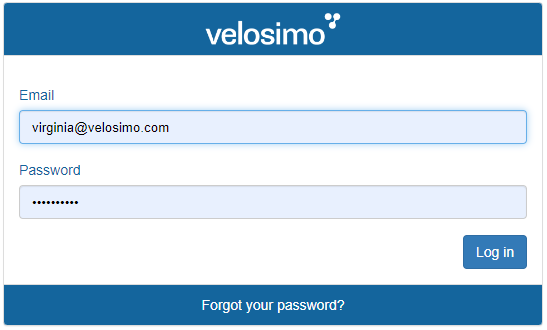
Login Page
Once logged in, you can see the Dashboard and the successful message for login:
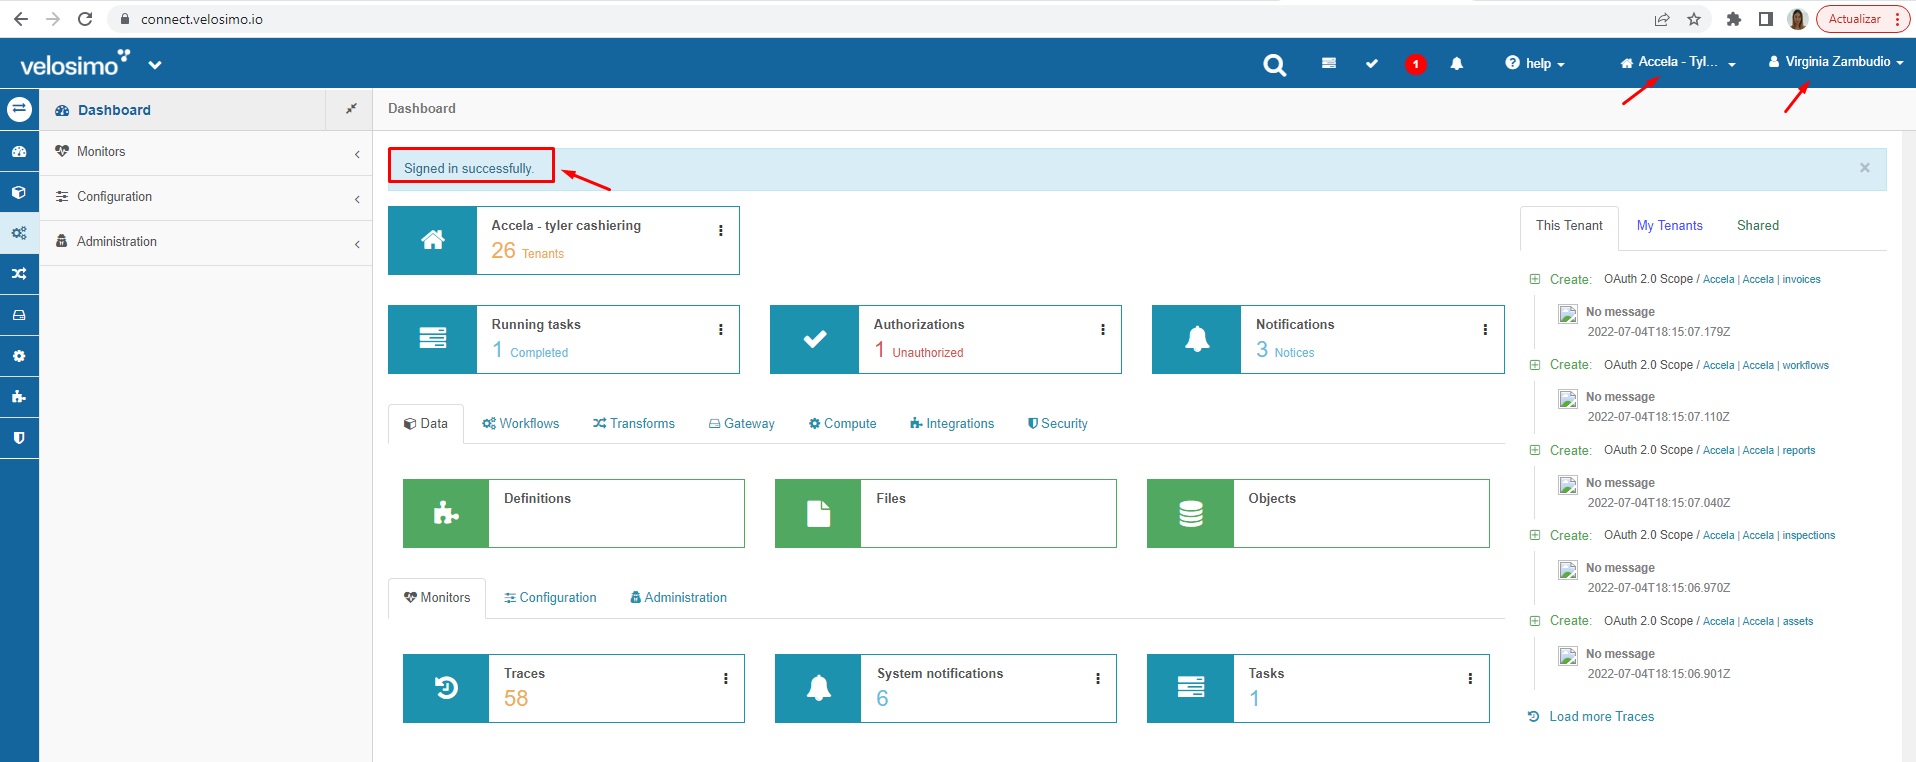
Dashboard
Click on arrow icon on the left corner to open the main menu:
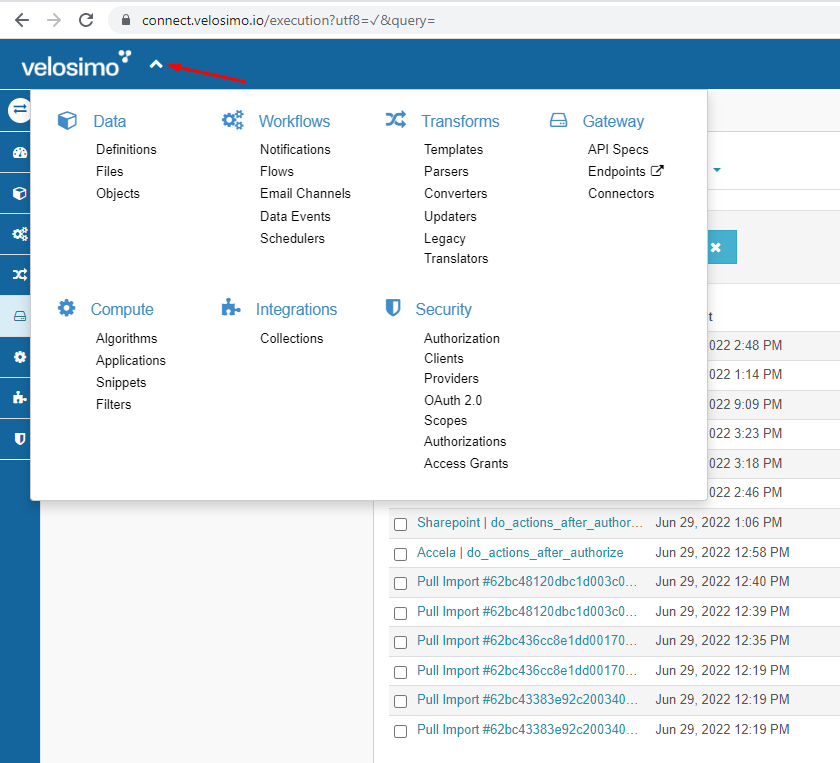
Menu
Click on Integrations -> Collections submenu:
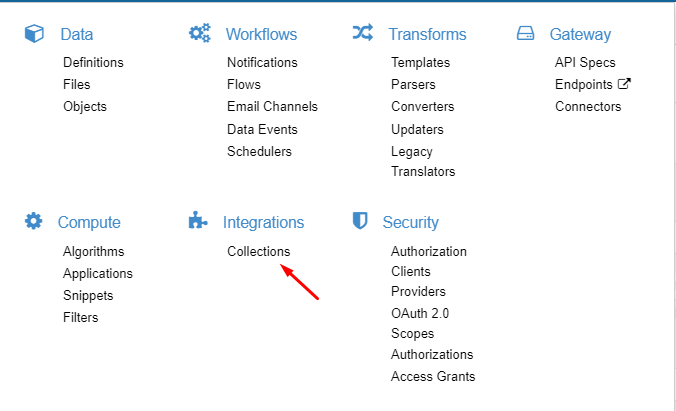
Collections submenu
Once this sections is open, the collections installed will be displayed. Select 'Three points' icon and the 'Show' option in Tyler Cashiering collection:
Note: The example will be displayed with Accela collection because of Tyler Cashiering integration is not ready at the time of this writing.
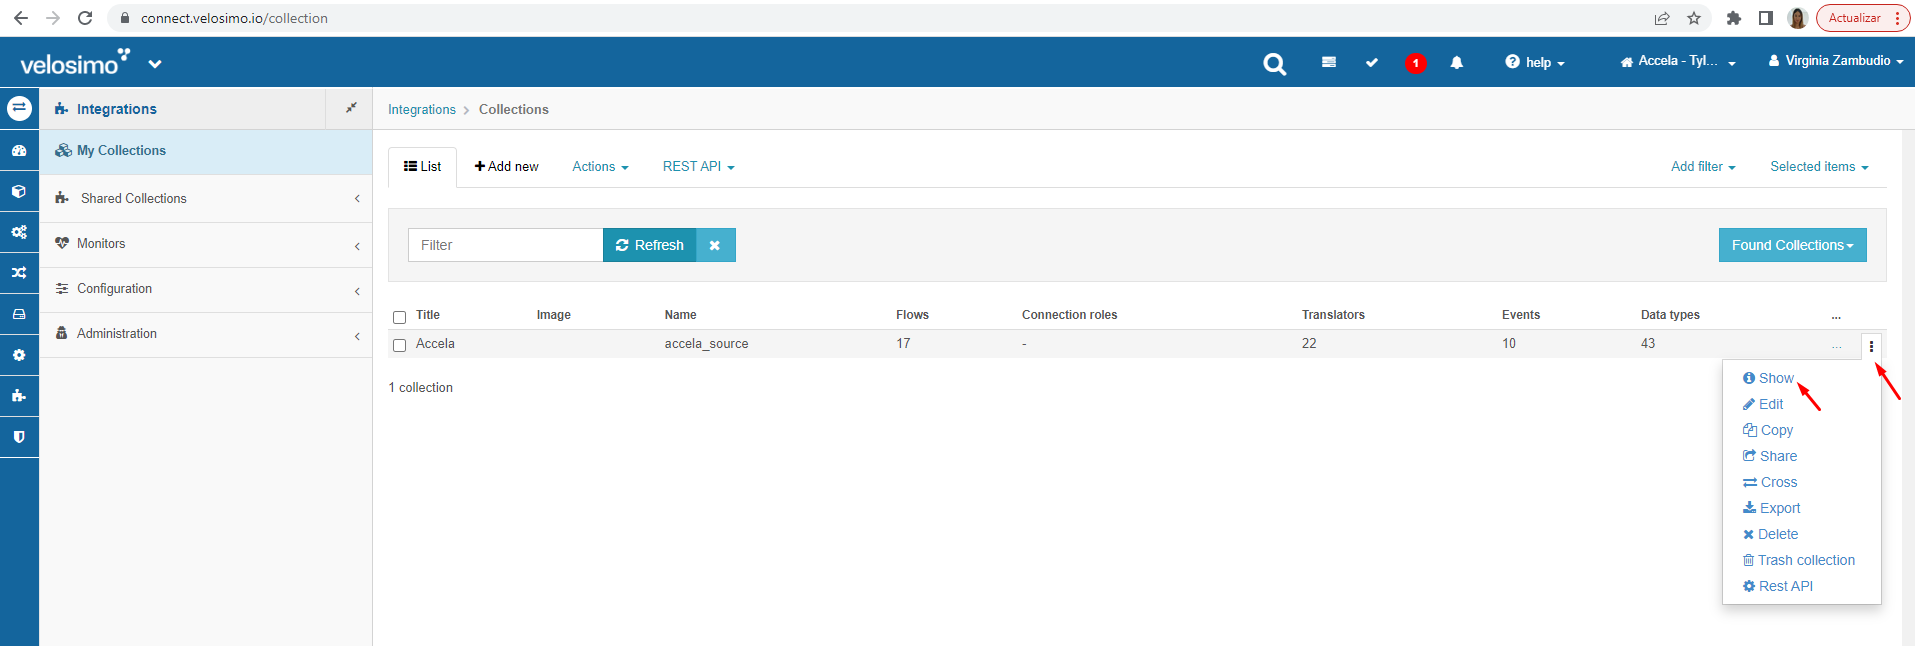
'Three points' icon and 'Show' option
The collection detail will be displayed as the following:
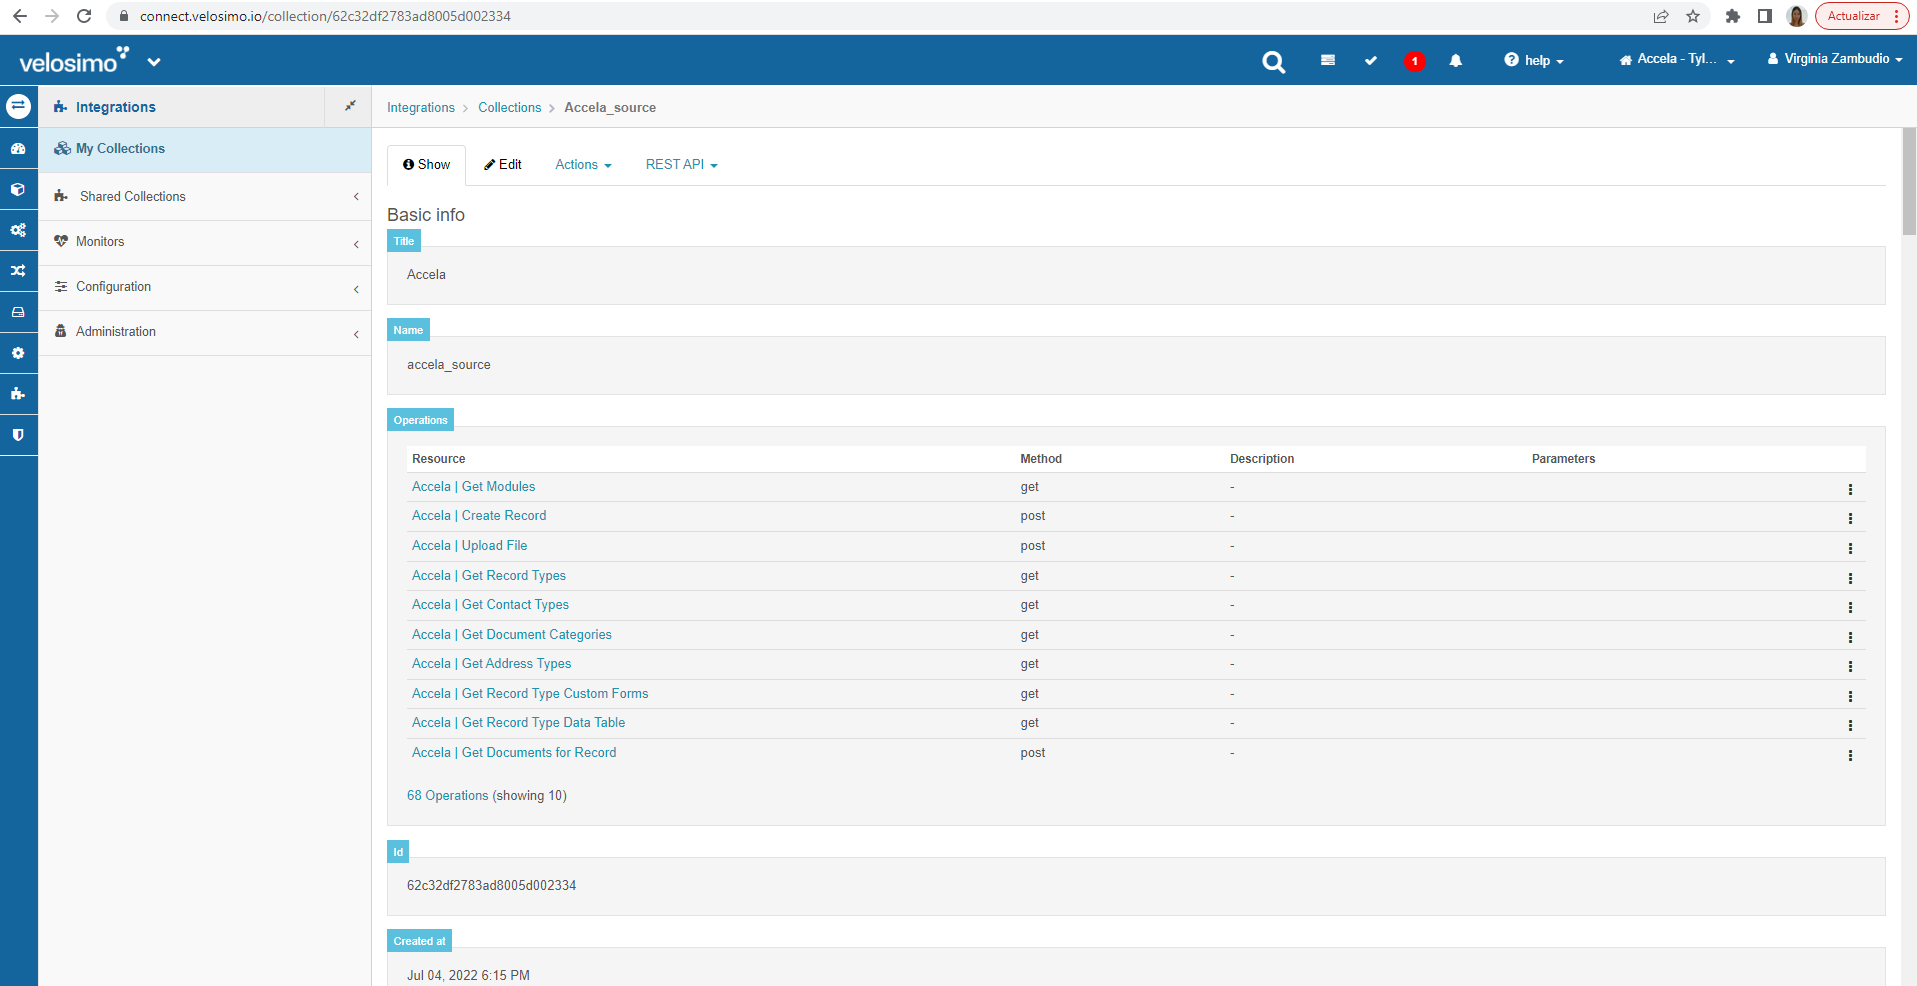
Collection detail
Scroll down to Security section, Authorizations submenu. The collection will be displayed as 'Unauthorized' in red color:
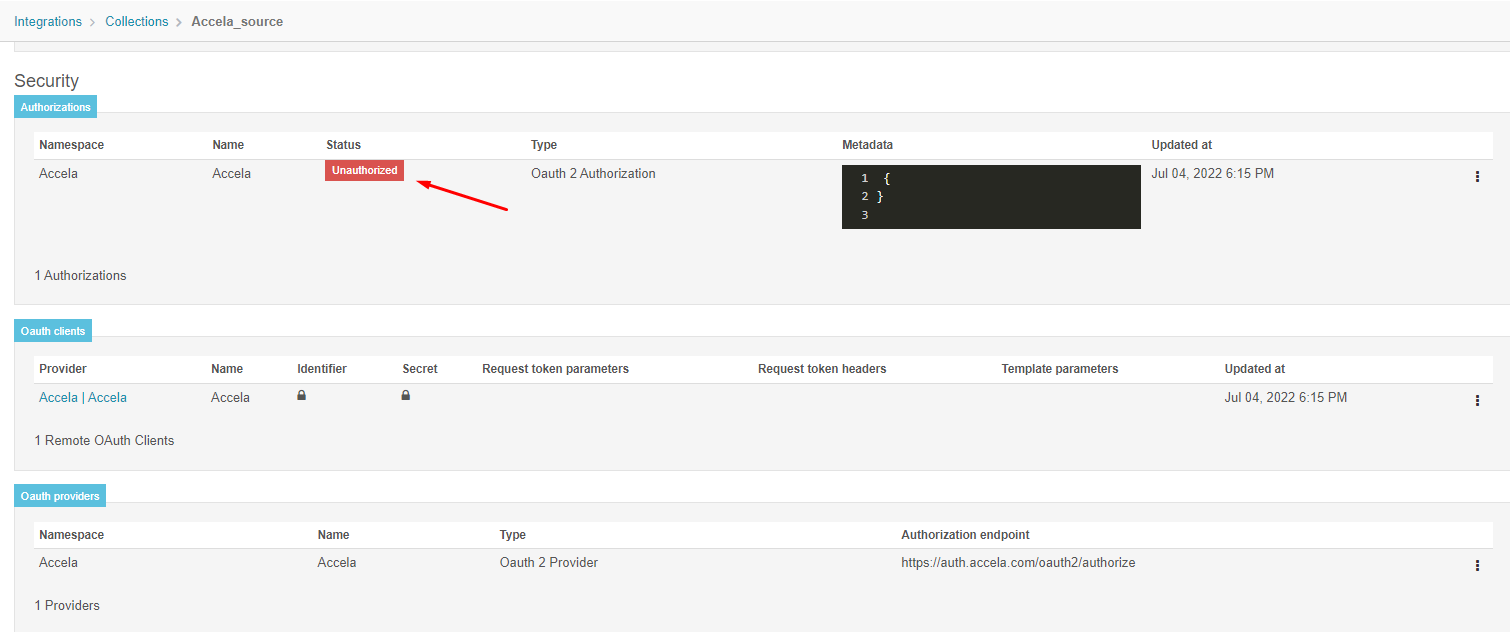
Unauthorized status
On 'Oauth clients' section, complete with the appropiate Identifier and Secret provided by Velosimo clicking on 'three points' icon and selecting 'Edit' option:
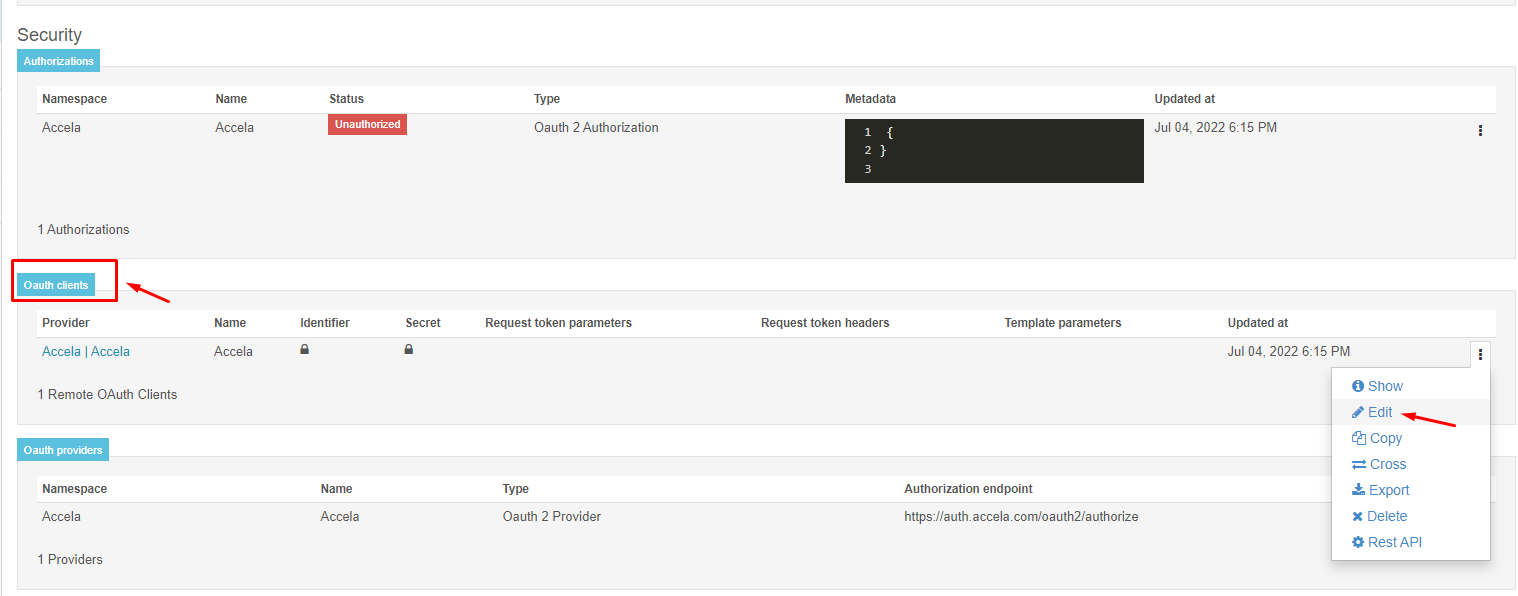
Edit Oauth clients option
Complete Identifier and Secret and then Save.
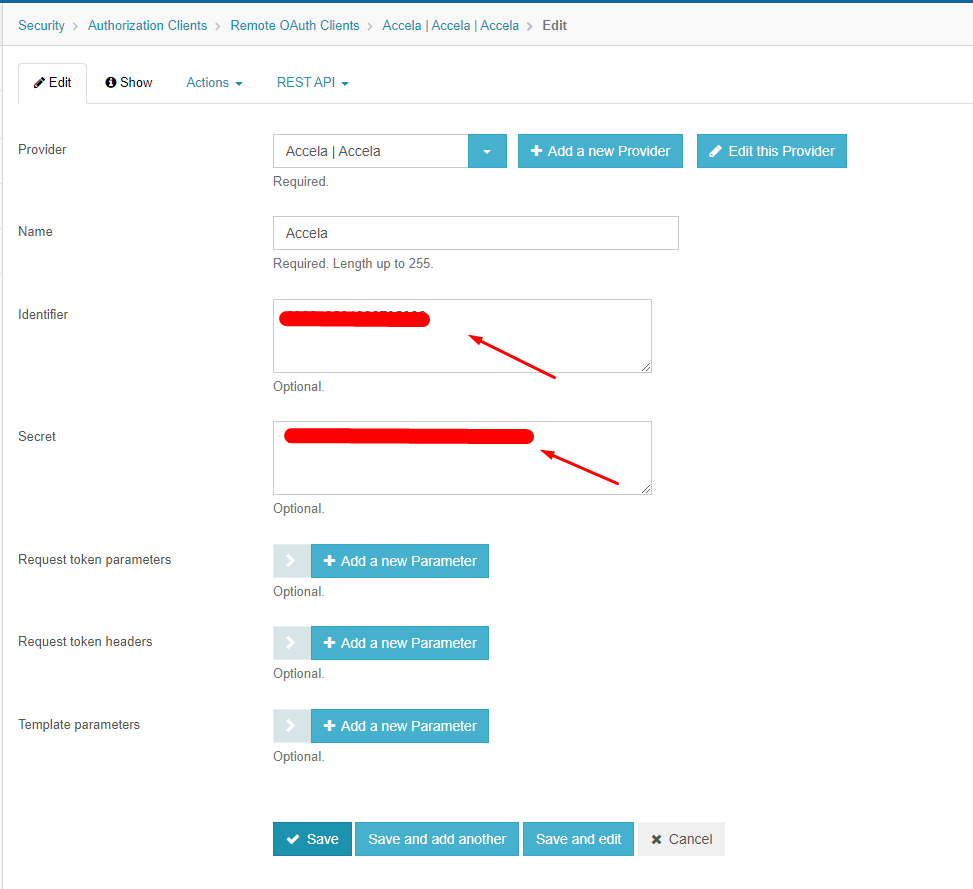
Complete Identifier and Secret
The page will load to the collections details page with a success message:
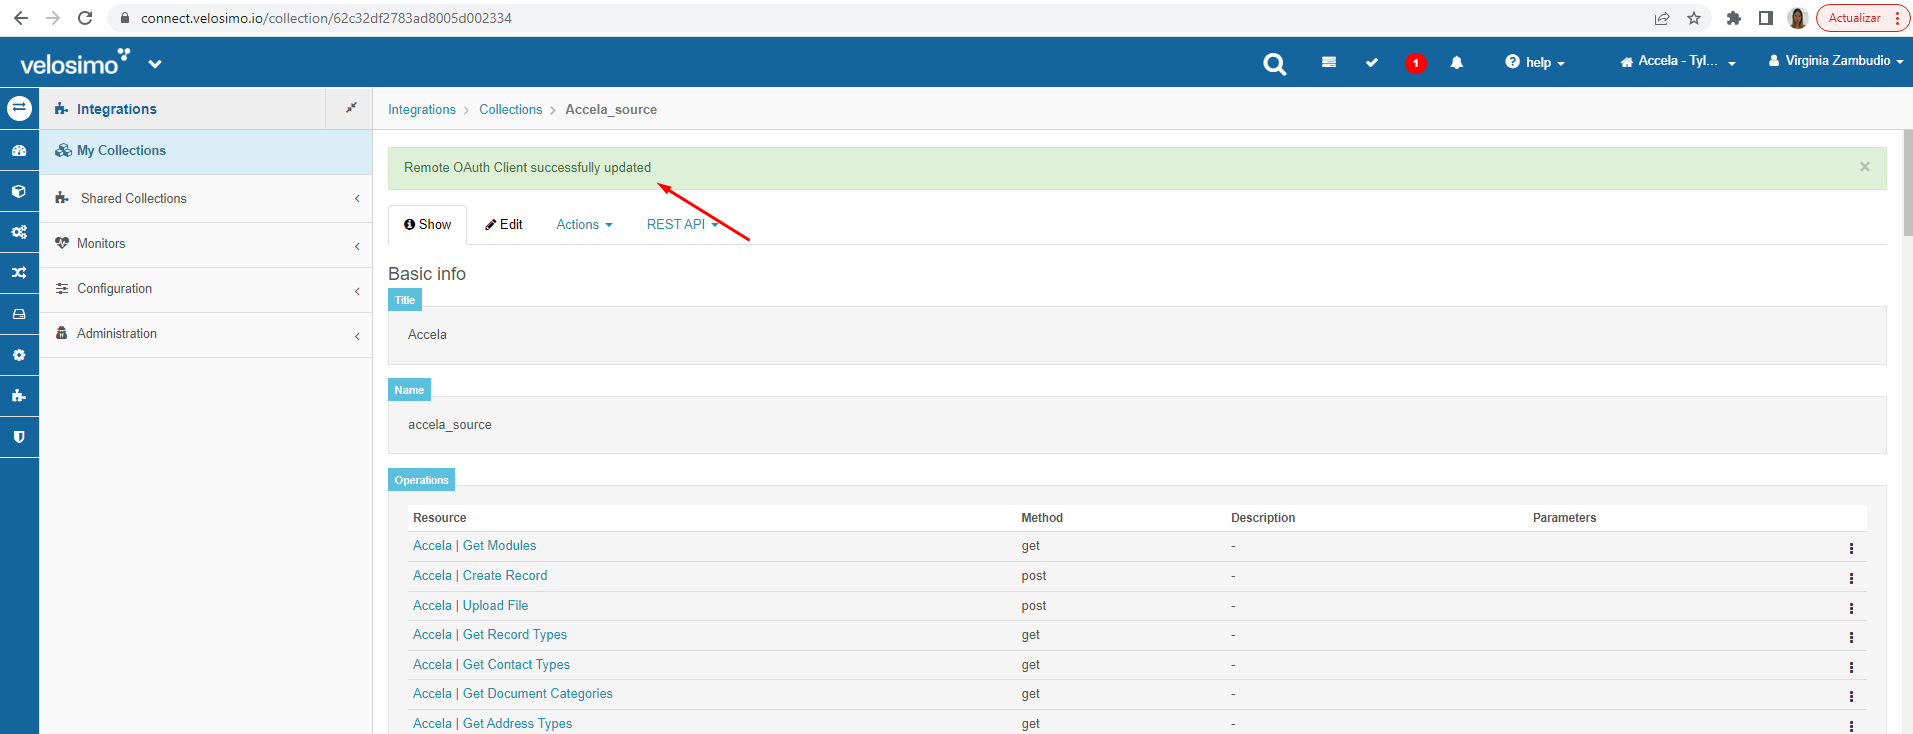
Success message
Click on Collections menu:
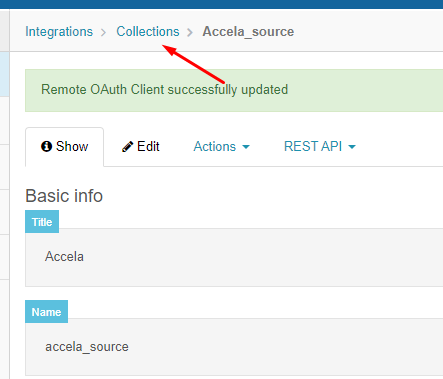
Collections submenu
The collections page will be open. Click on 'Three points' icon and then 'Show' option:
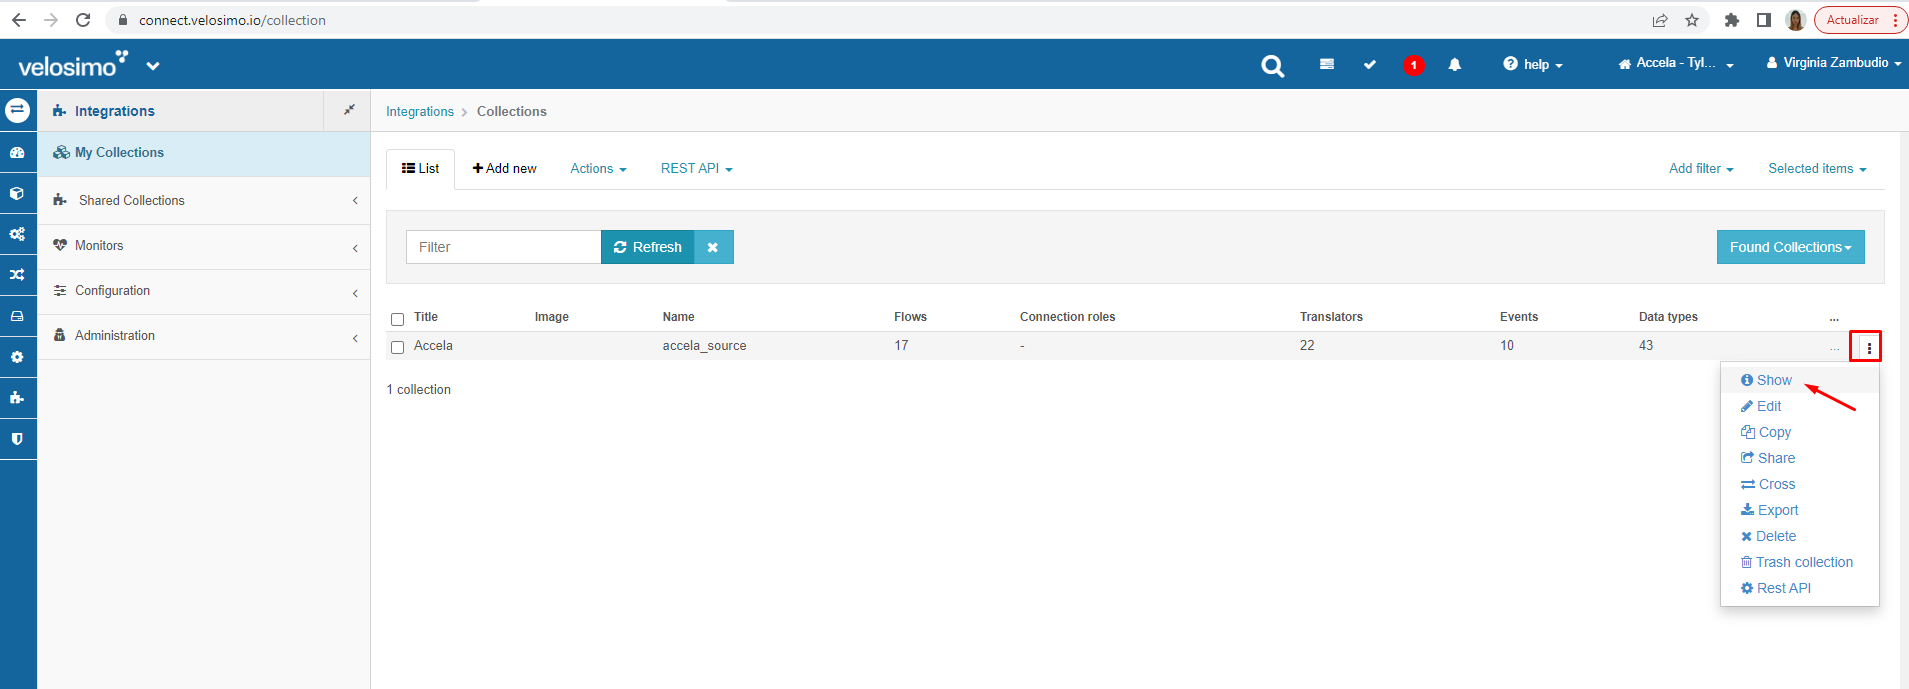
Show collections details
The collections detail page is open. Scroll down to Authorizations section and click on 'Three point' icon, then select 'Authorize' option:
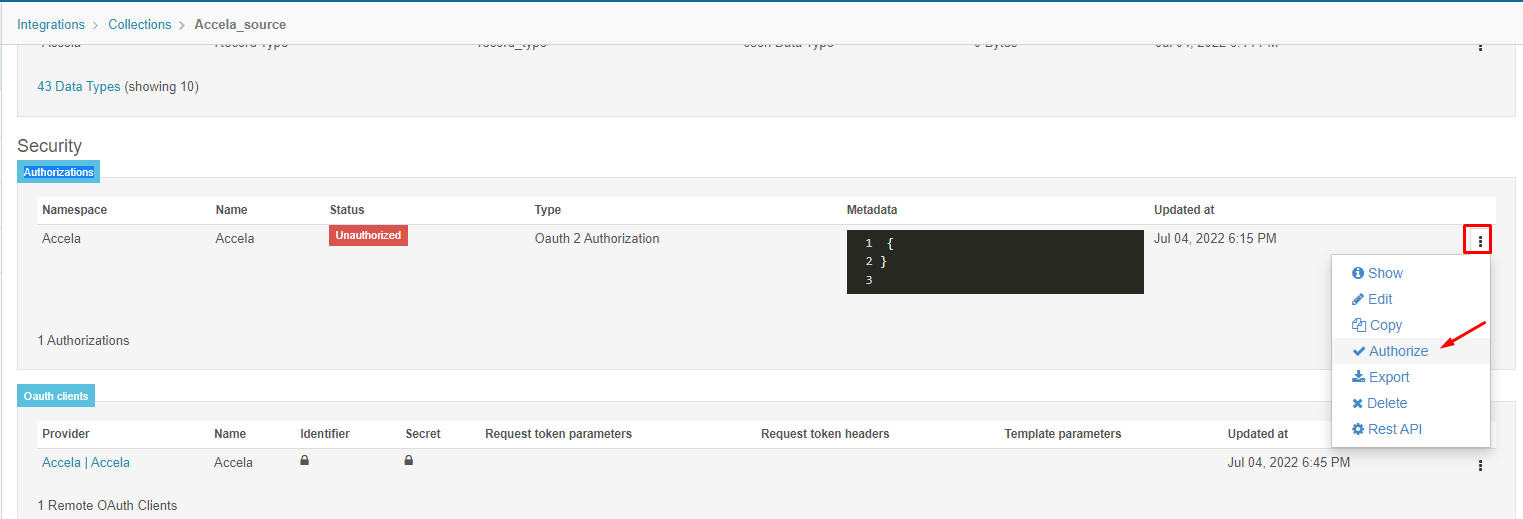
Authorize option
Complete with appropriate credentials. You will be redirected to connect.velosimo.io and the collection status will be displayed as 'Authorized' in green color:
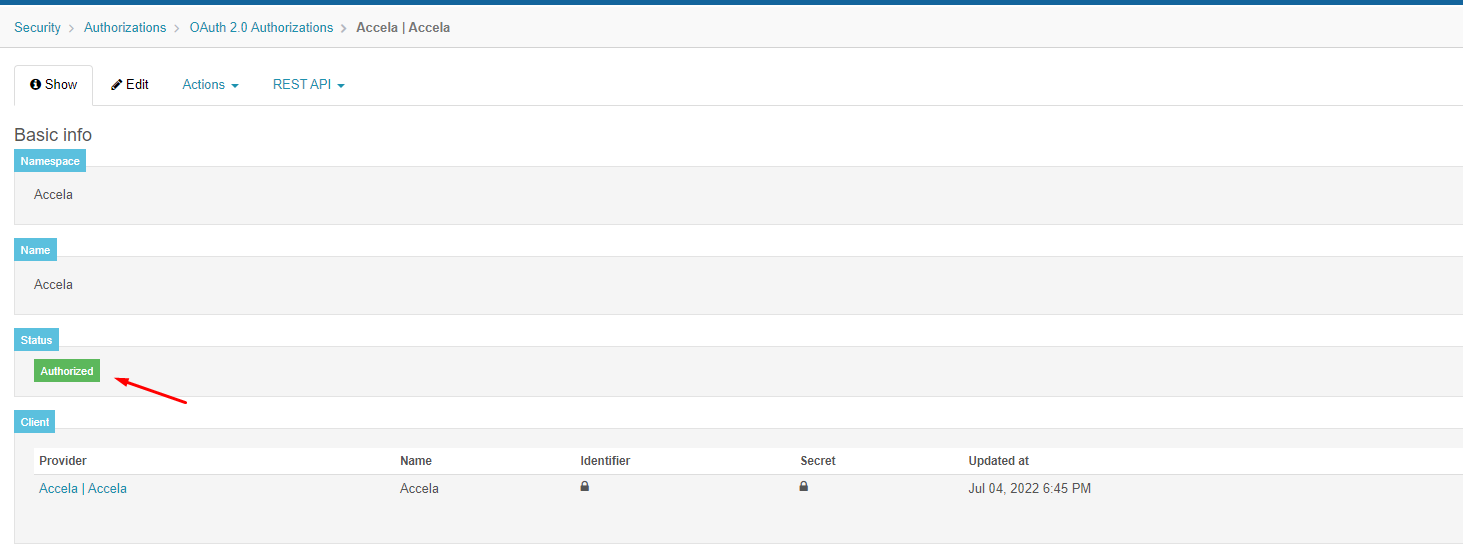
Authorized status
Updated about 1 month ago
