Configure: SeamlessDoc Form to Dropbox
Prerequisite
-You must connect SeamlessDocs to Velosimo to complete the next step:
Connect SeamlessDocs to Velosimo
-The Authorization of Dropbox should be set before.
Authorizing Dropbox
Access your Form(s)
In velosimo’s GovOS SeamlessDocs administration portal under Form Settings, administration users have the ability to filter and create user specific form lists.
As a new user, the form list will be blank. To populate your user-specific form list, filter and select specific forms that you want to configure or to easily access.
Steps:
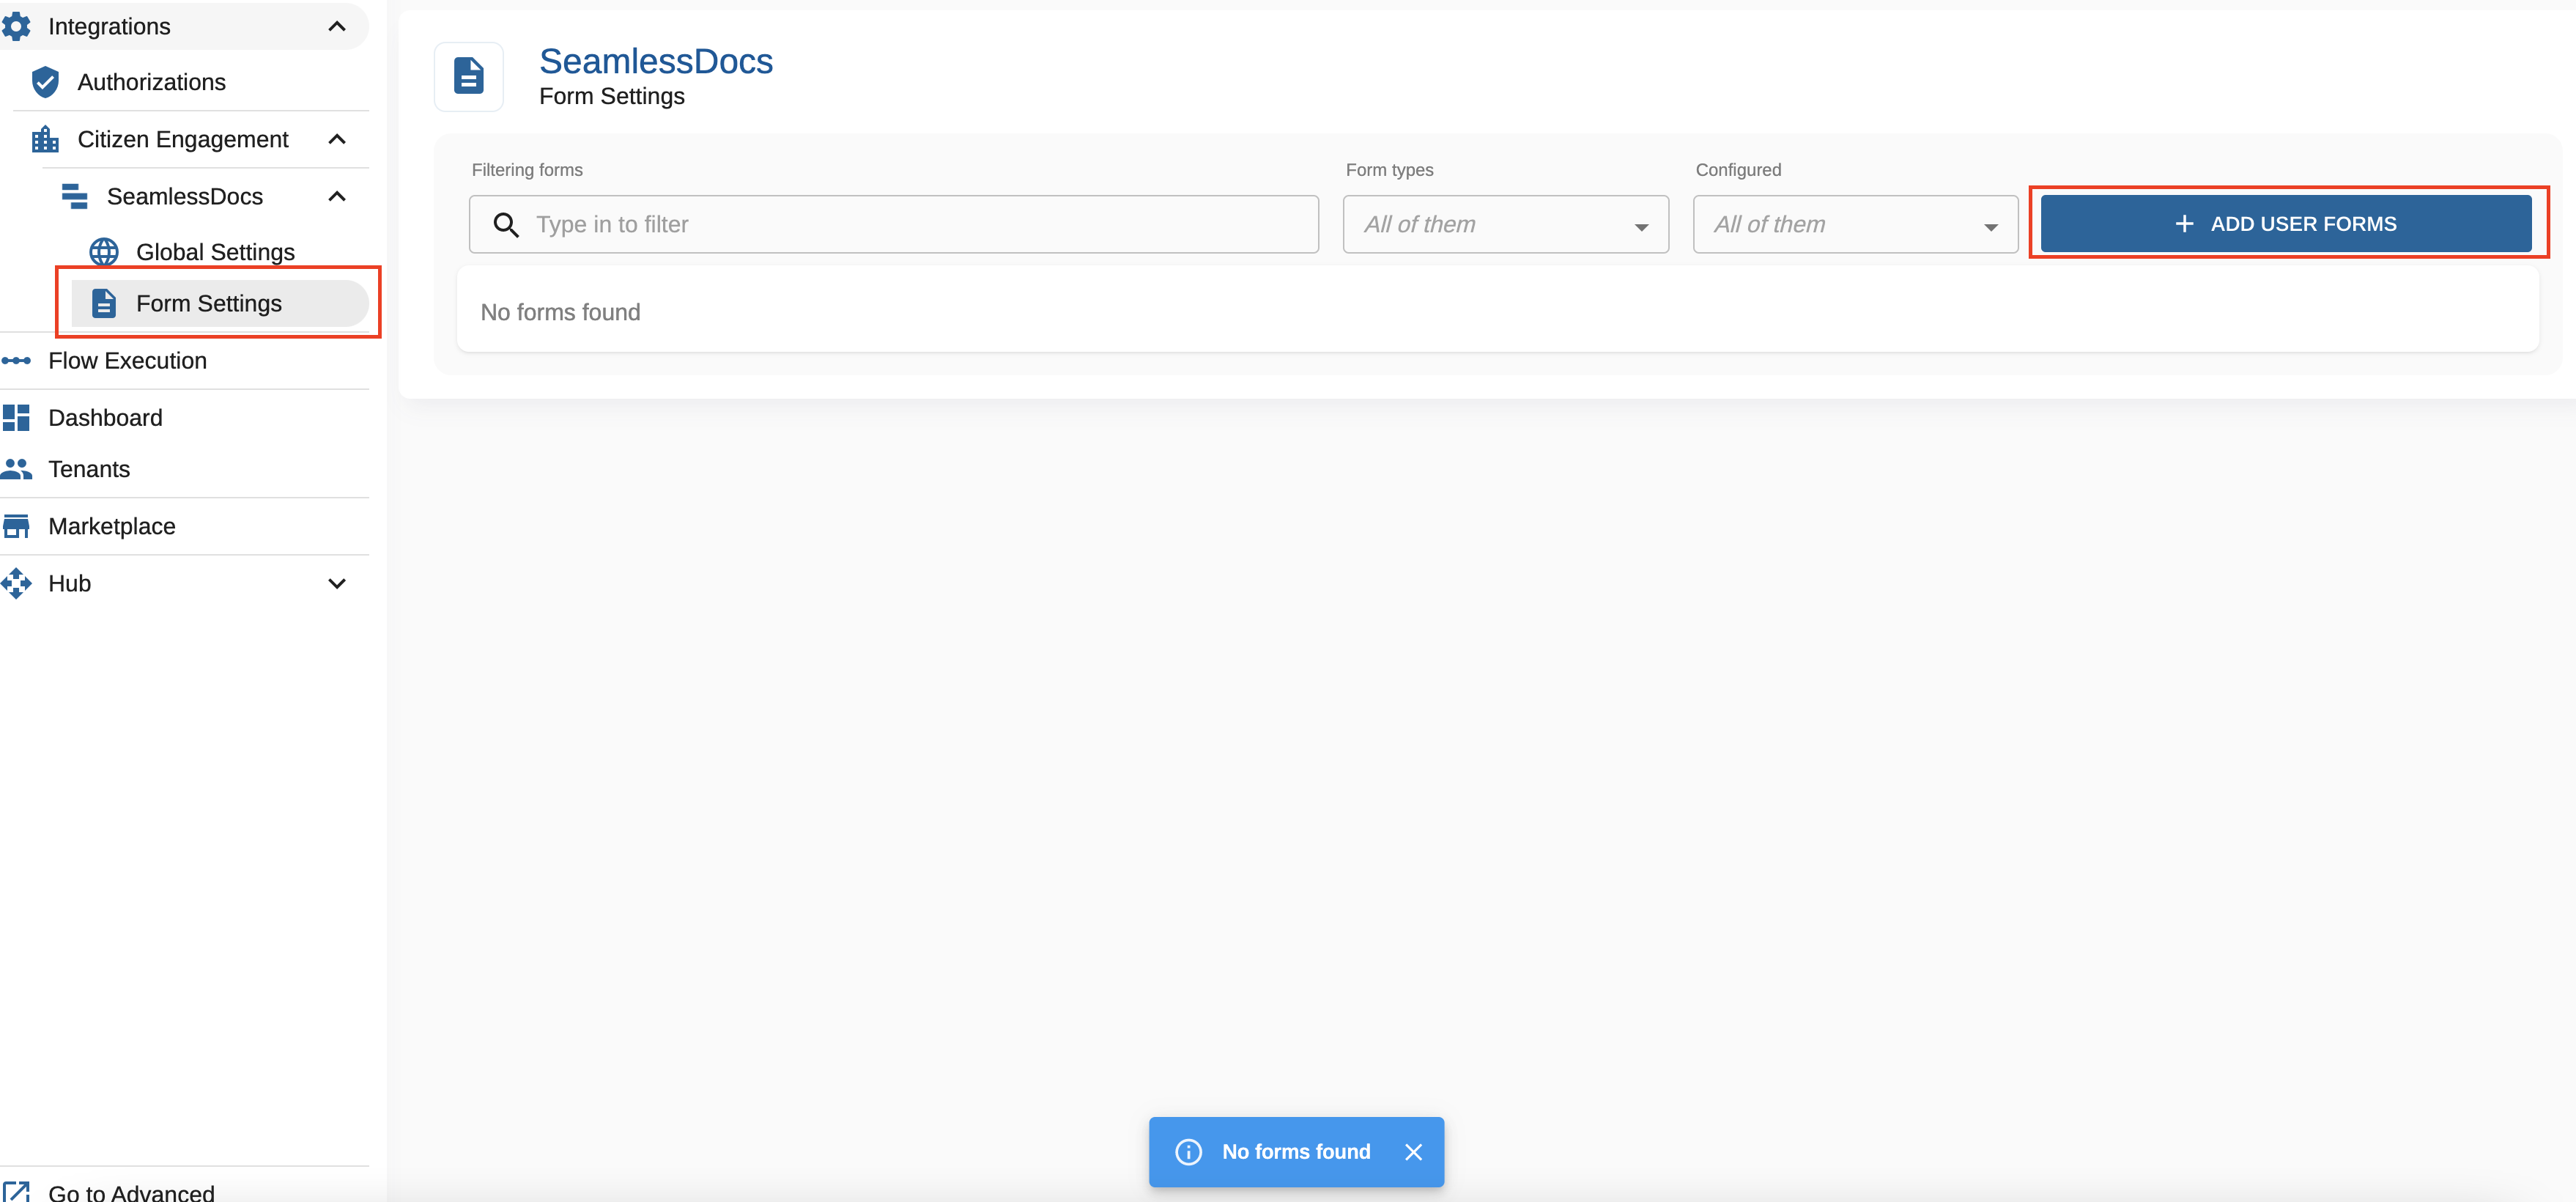
- Navigate to “Form Settings” in the left menu under the SeamlessDocs integration node
- Select "+ ADD USER FORMS
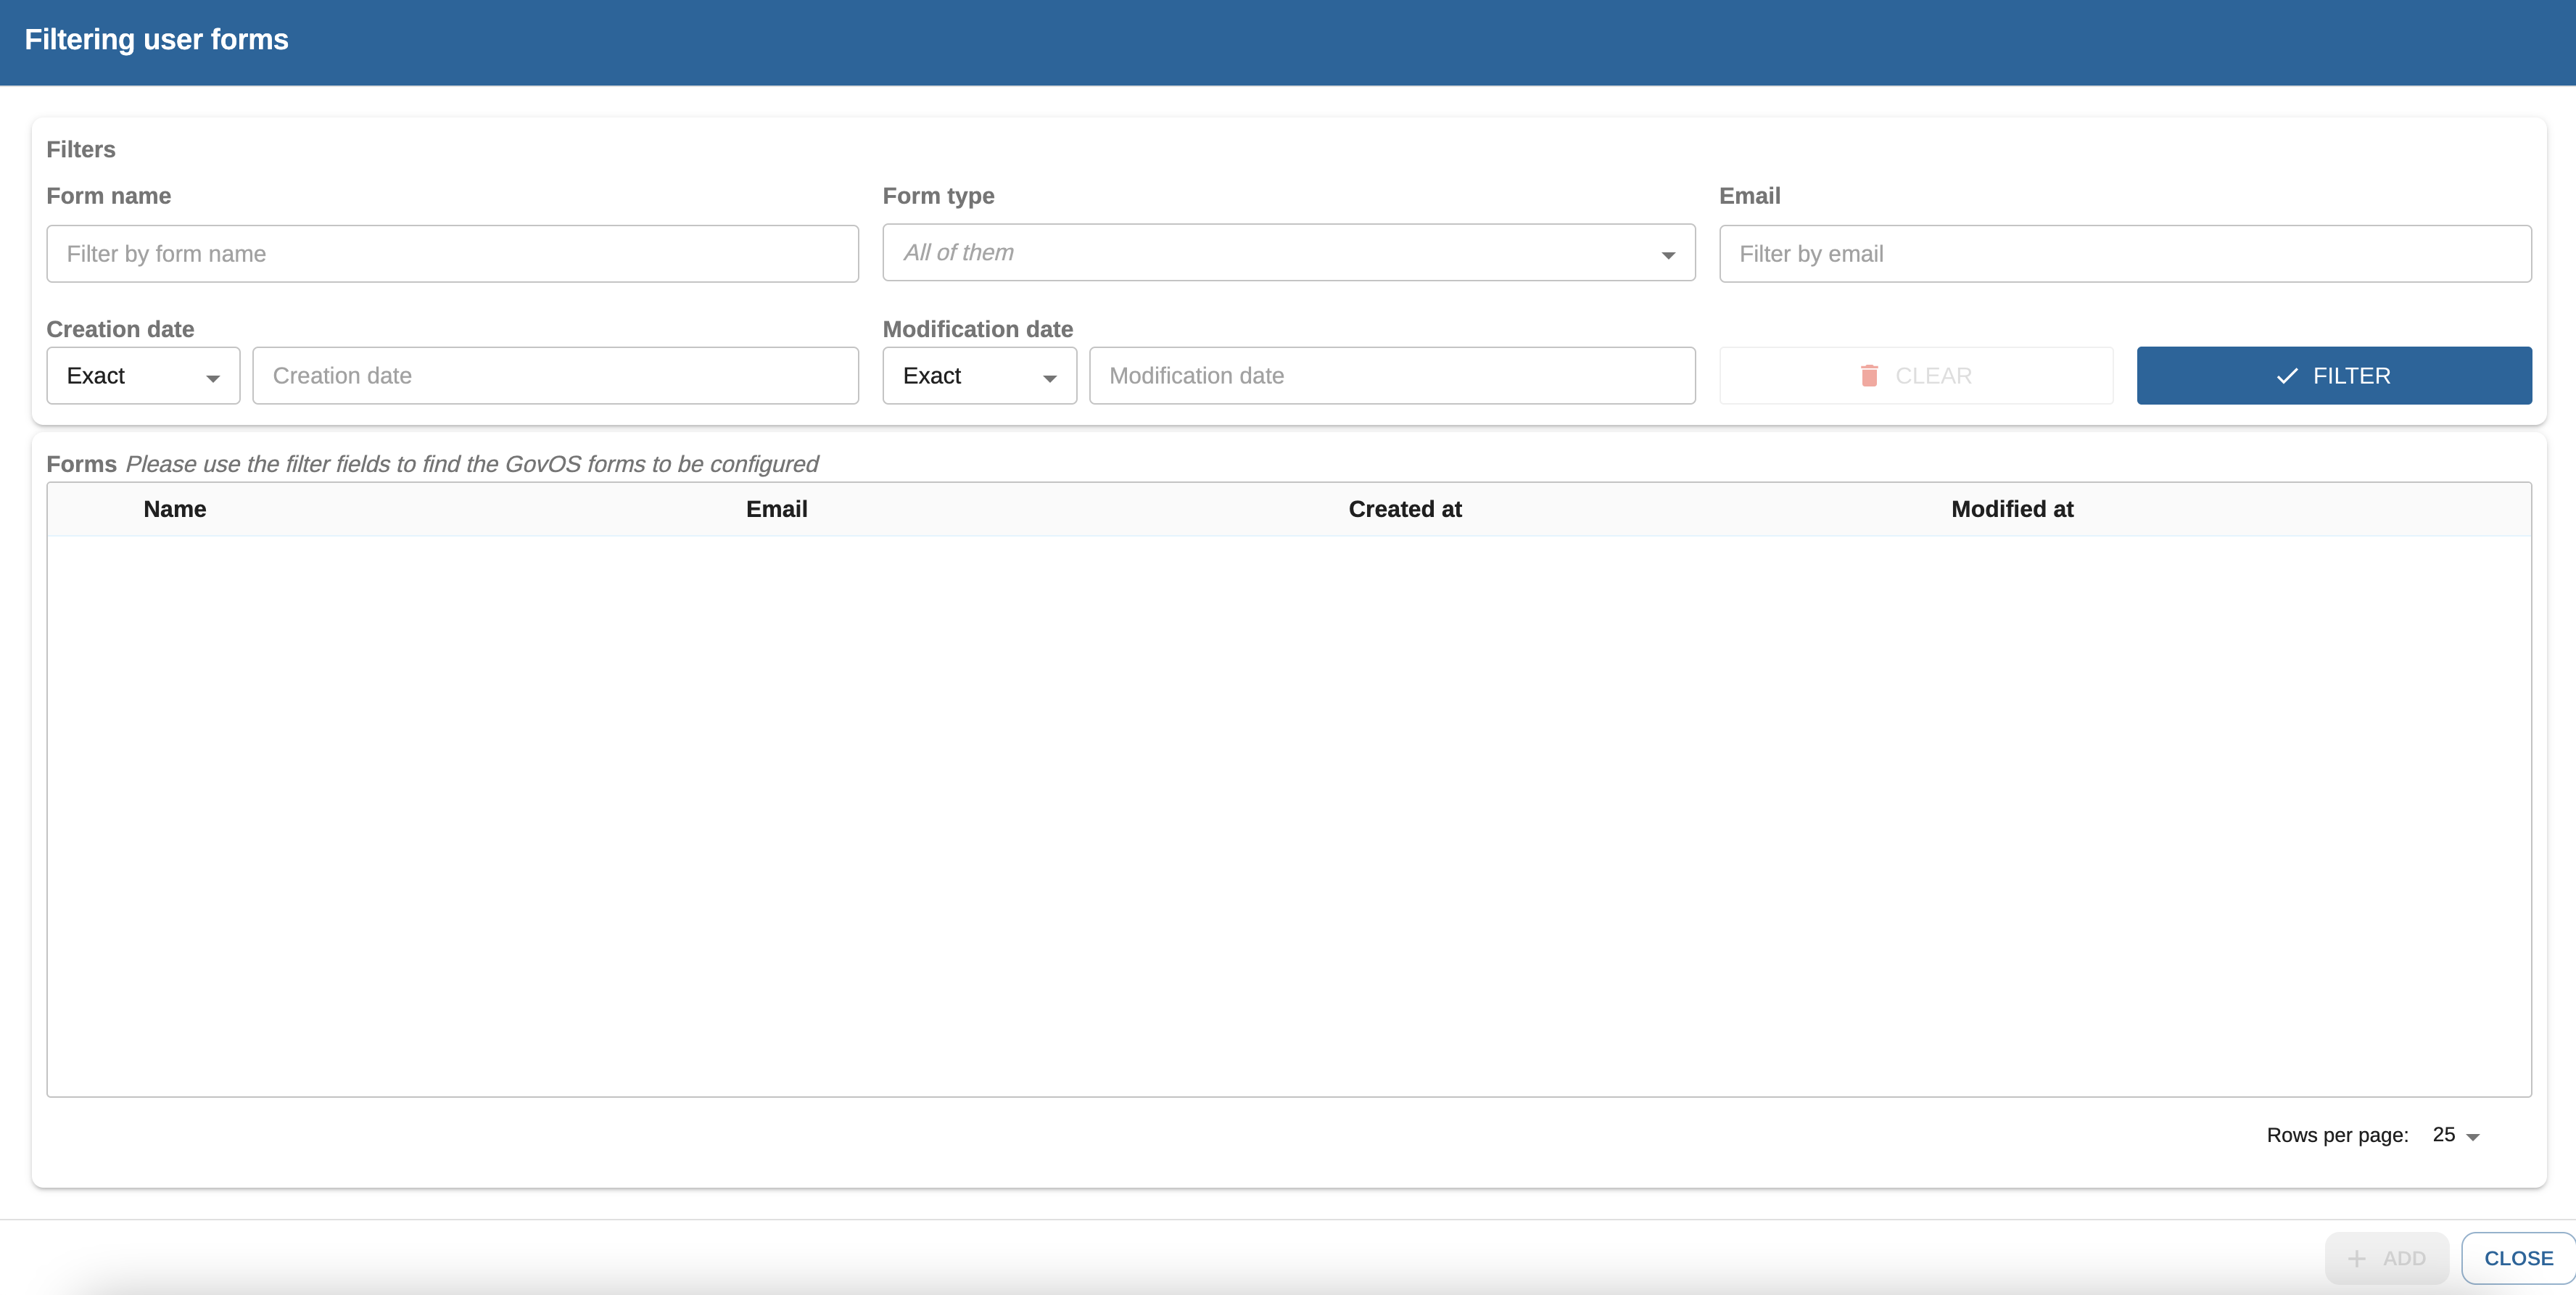
To find your desired form(s), you can filter on any of the attributes by entering data or selecting from the form type drop down to filter/search for the form(s). The filter attributes include:
Form Name, Form Type (web forms or document forms), user email address associated with the form, created date or modified date.
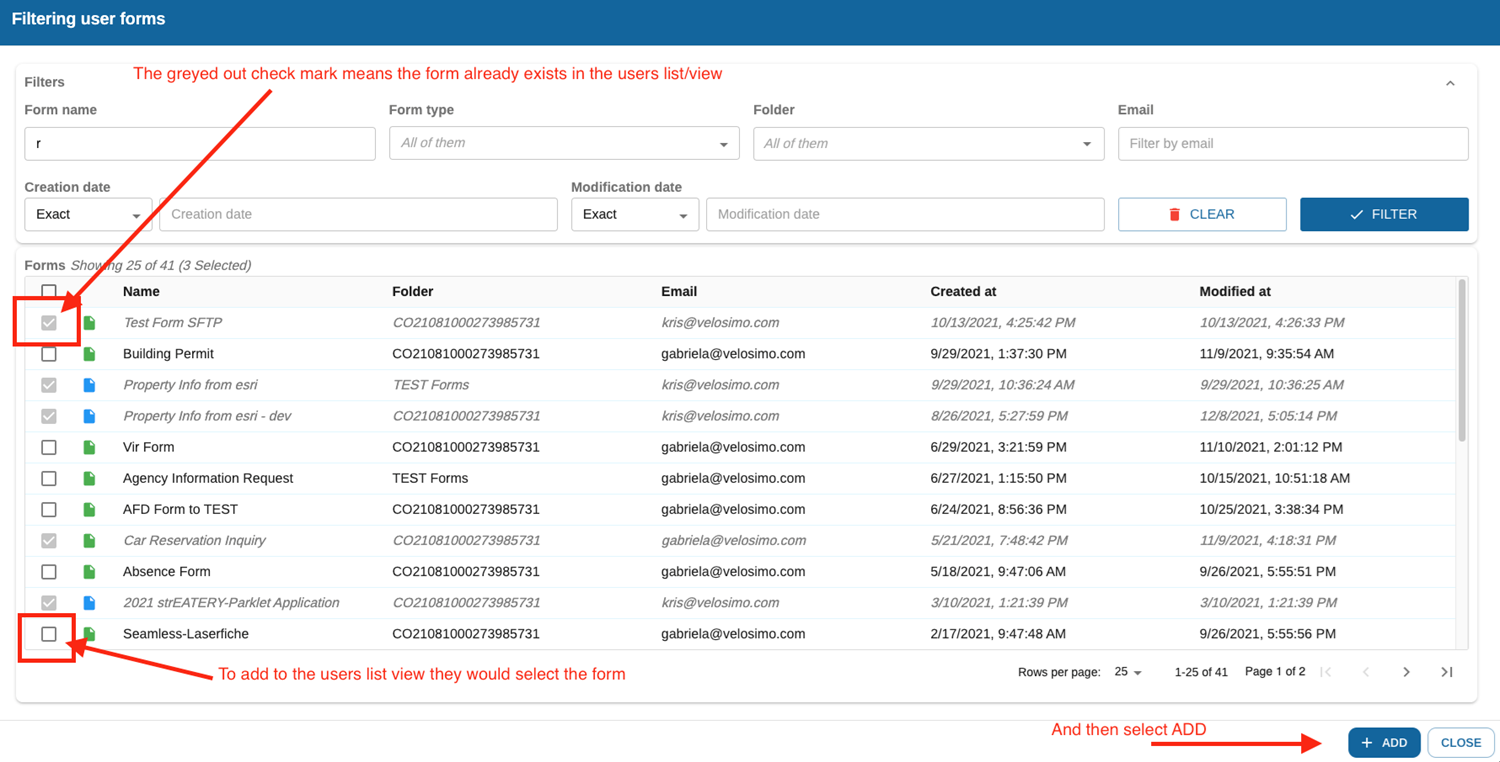
Once you have filter results you can select the desired form(s) that should be on your form list every time you access "Form Settings".
Steps:
- Select the check box for the form you would like to add to your Form Setting list
- Select Add
Note: if the check box is greyed out, that indicates that the form already exists in your "Form Settings" view.
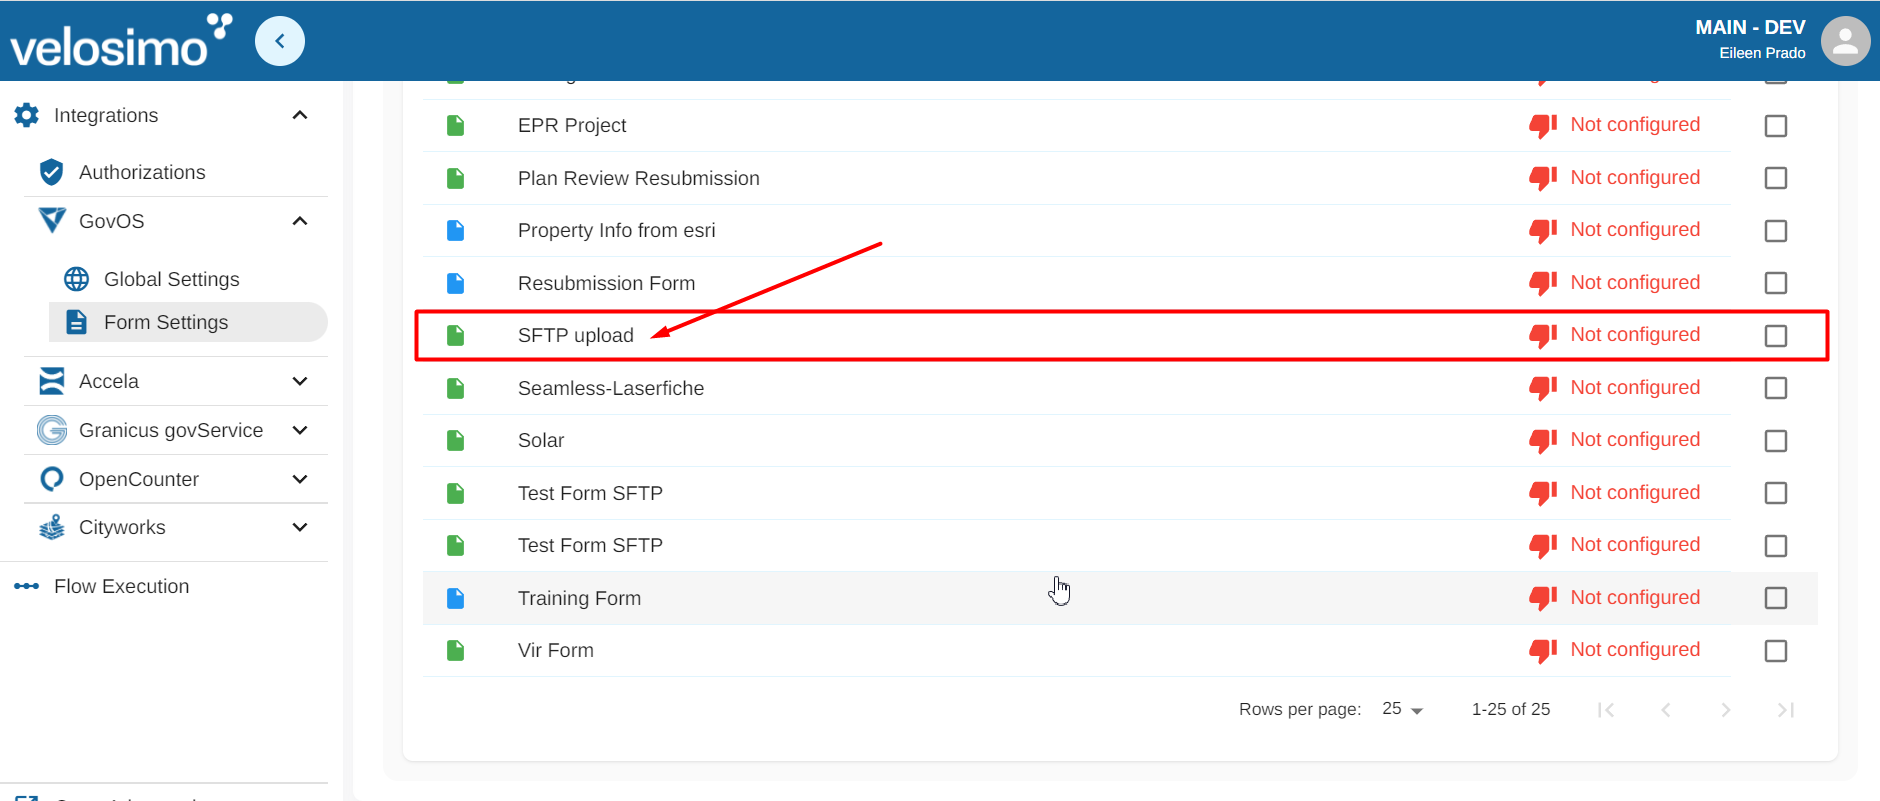
Configure SeamlessDoc Form to Dropbox
Navigate to “Form Settings” in the left menu under the SeamlessDocs integration node and select a form to configure.
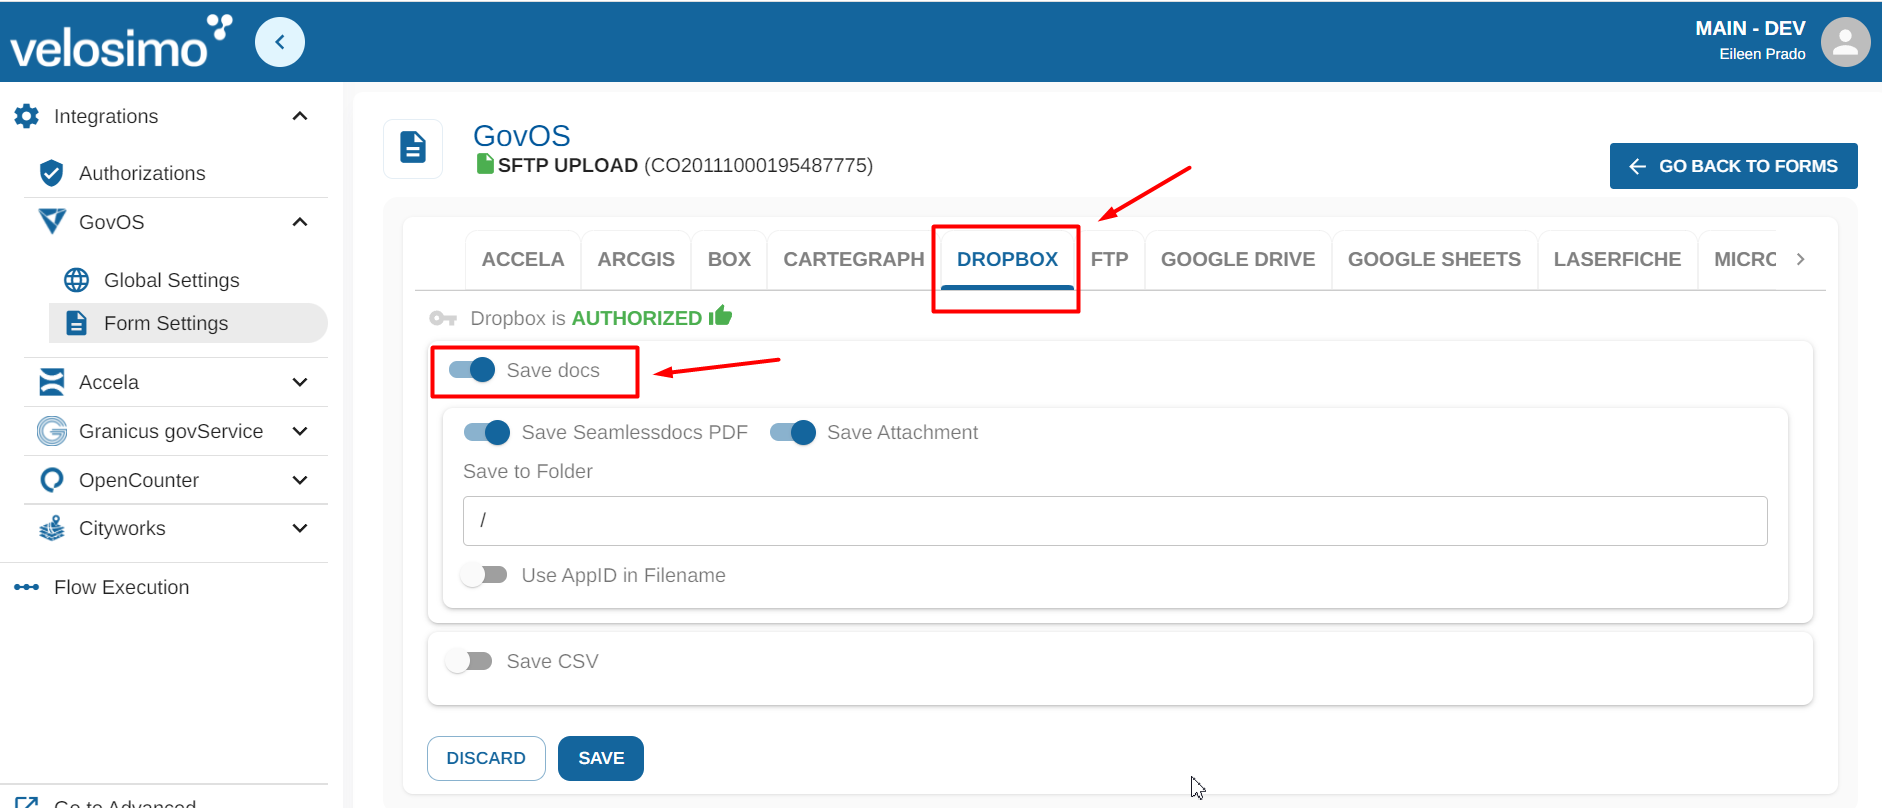
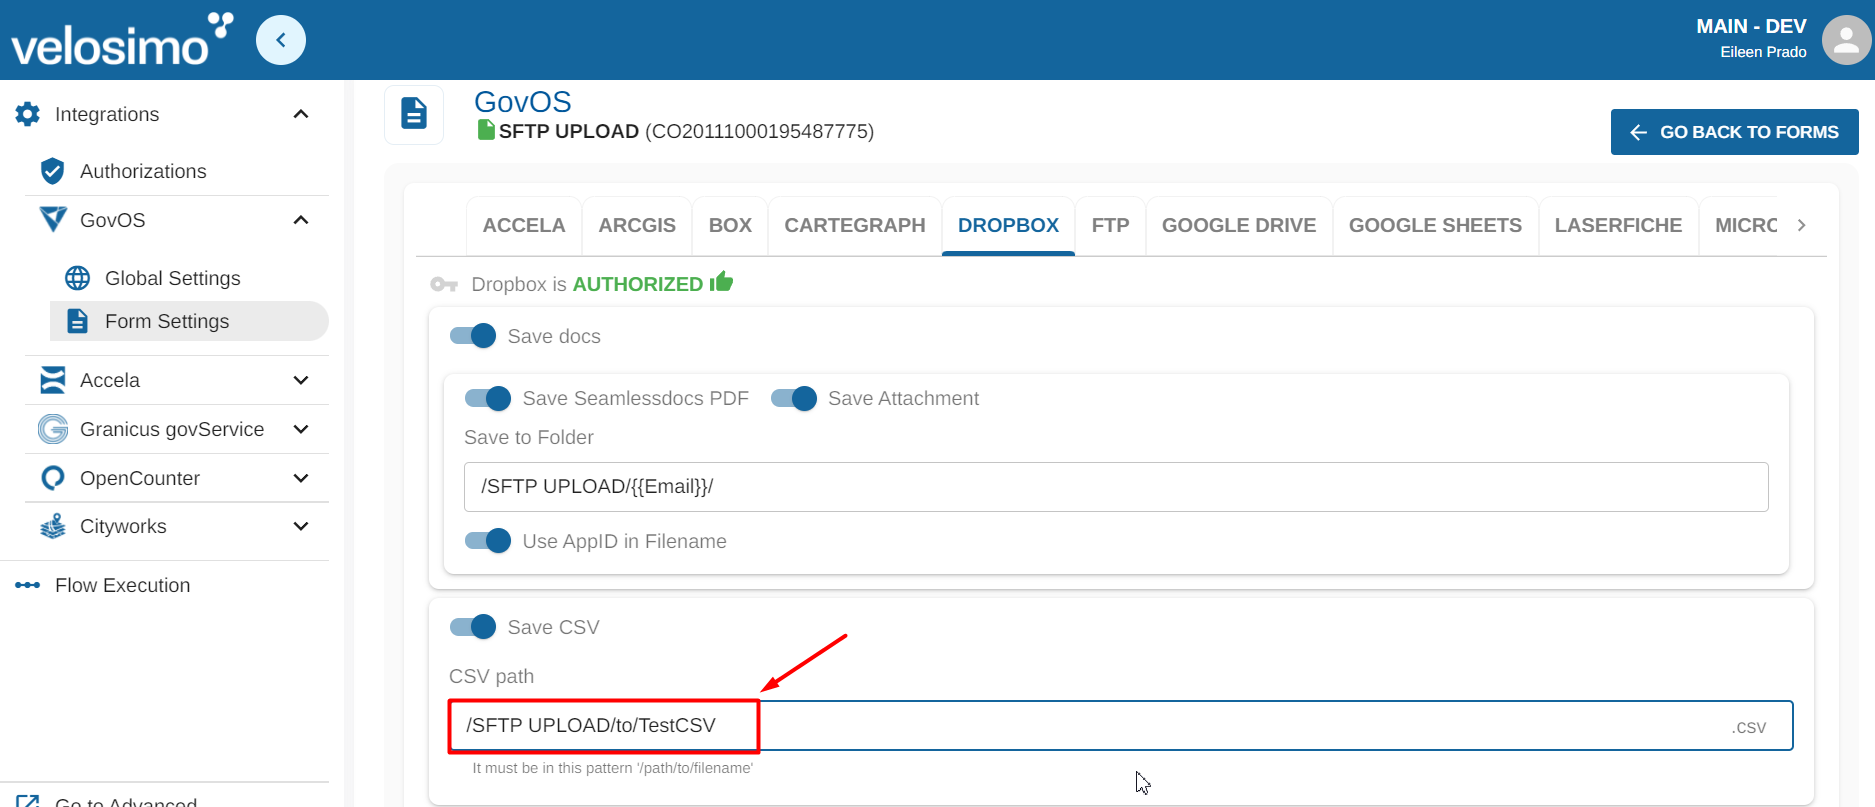
Select Dropbox tab and set the slider to the right to select "Save docs".
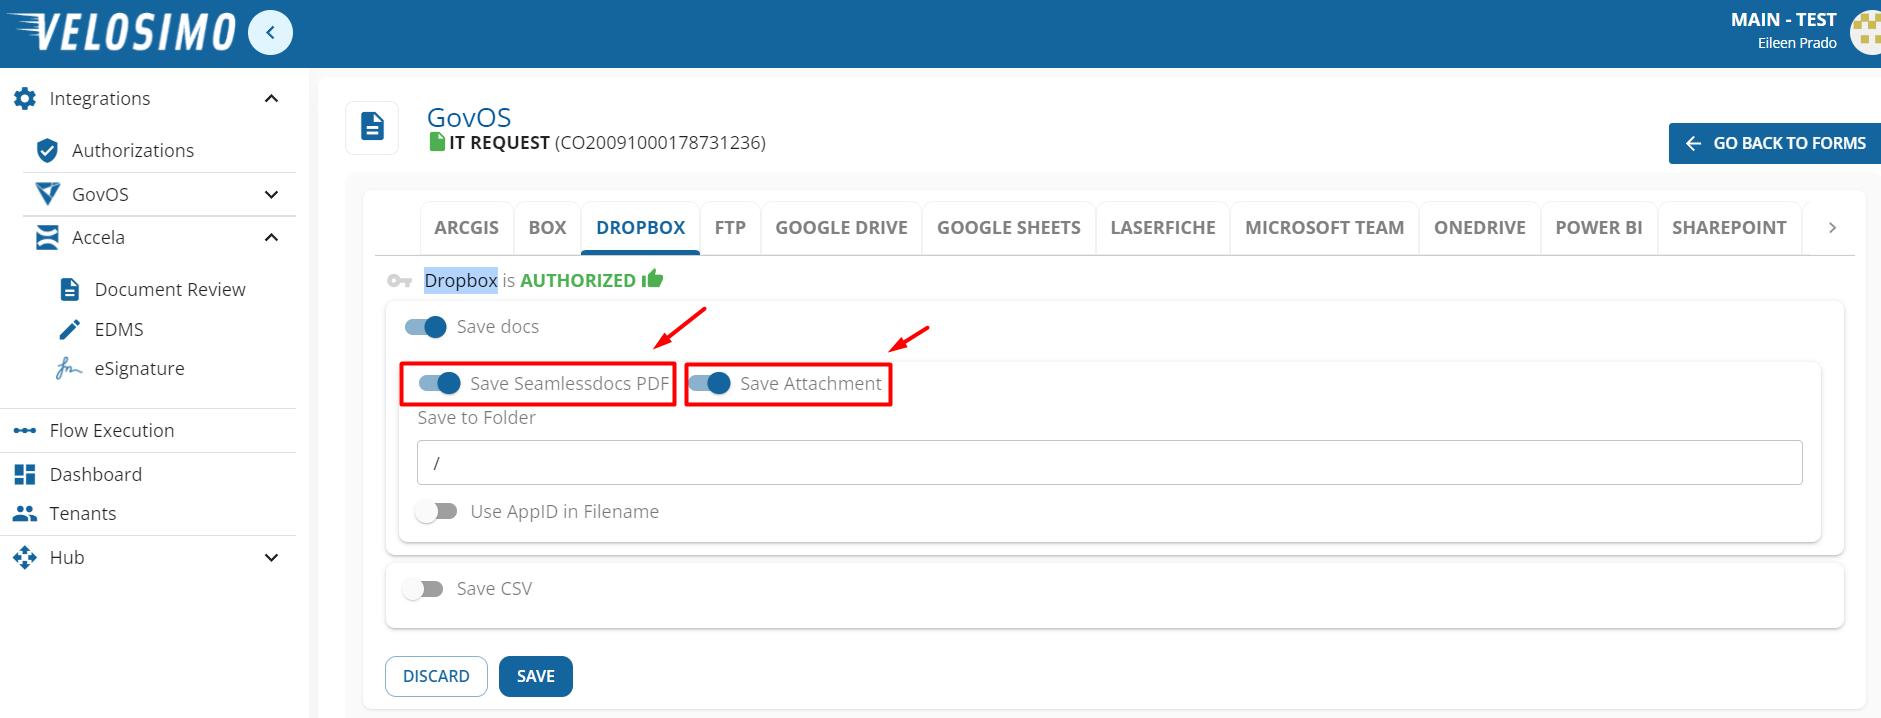
The options "Save Seamlessdocs PDF" to save the submission file in .pdf format and "Save Attachment" to save the attachment will be shown to be enabled initially, move the slider to the left if you want to disable one of them.
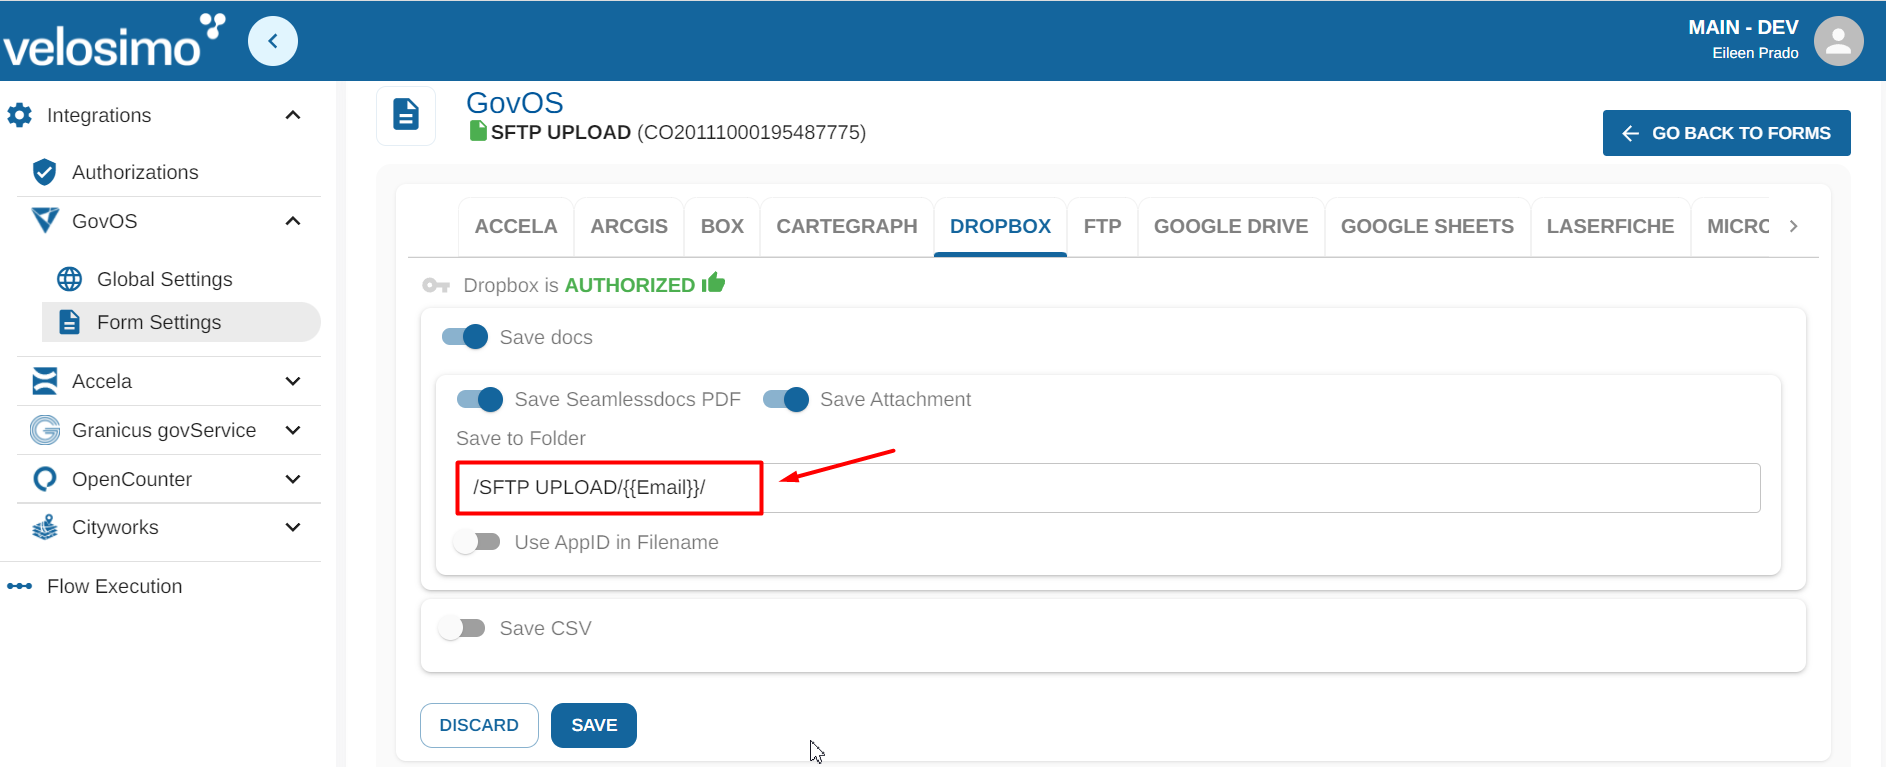
Insert the name to set up saving in the folder, option "Save to Folder". You will create the folder/file path with parameters. Use this pattern: /foldername/filename/.
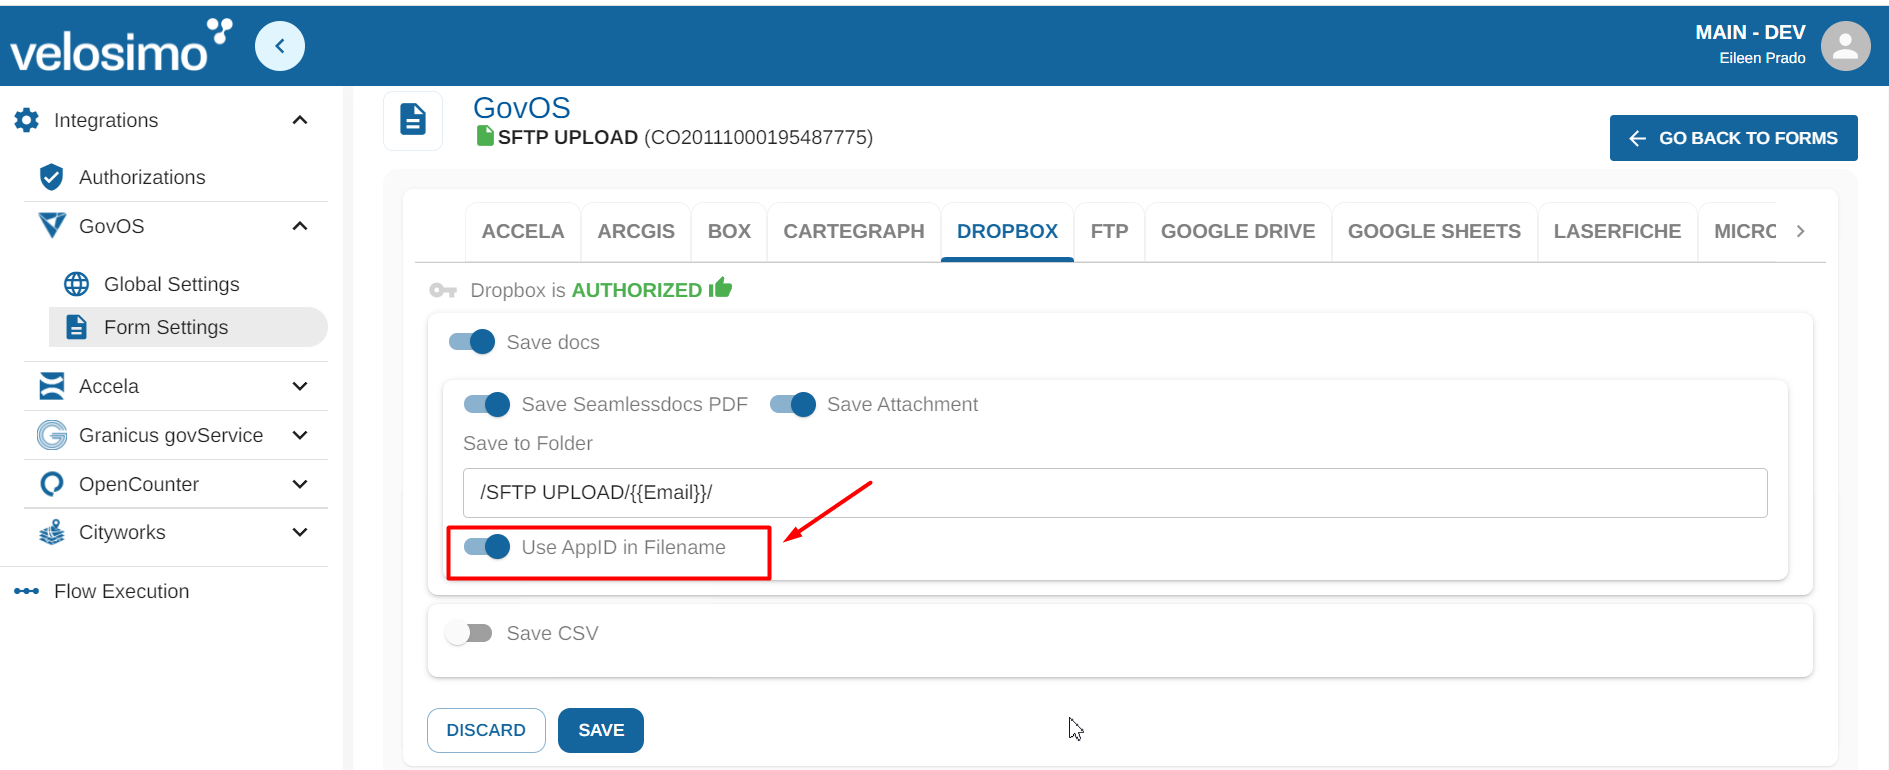
You can select "Use AppID in Filename" to add the submission ID as part of the file name.
Optionally, to save an entry to a CSV file select “Save CSV”. Enter the file path in this pattern: ‘/path/to/filename’.
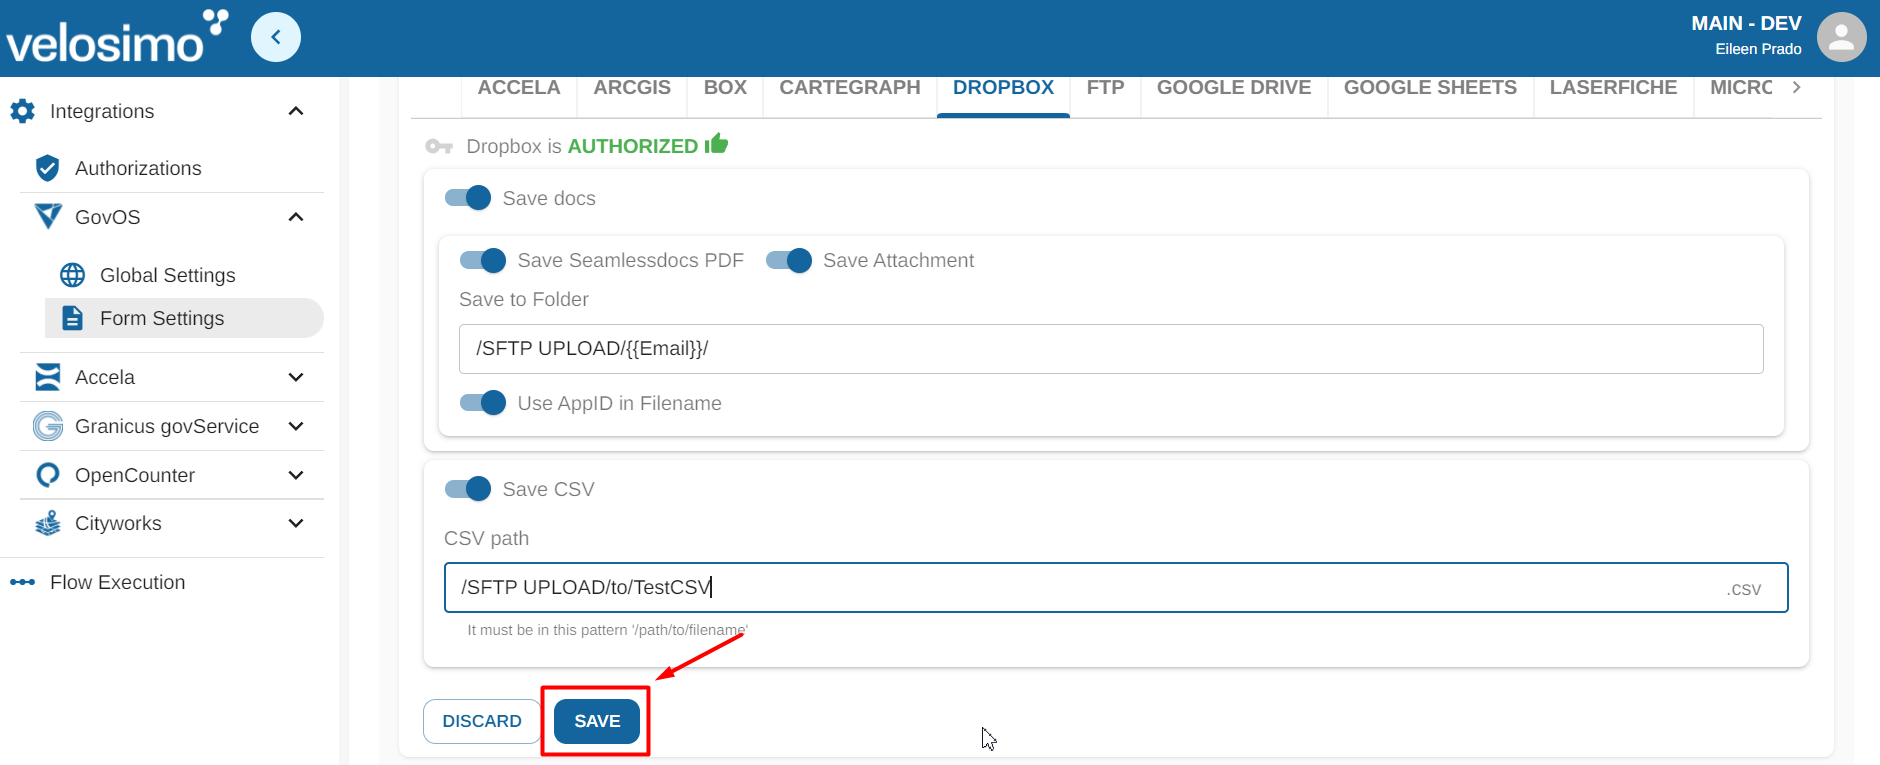
Once completed click “Save”.
Updated 3 months ago
